Rapid Prototyping in Figma
I was invited by the InfoEdge Centre for Entrepreneurship at Ashoka University to conduct a workshop on Rapid Prototyping in Figma as part of their Startup Ashoka program. These are some things I covered during the workshop.

Poster for the event
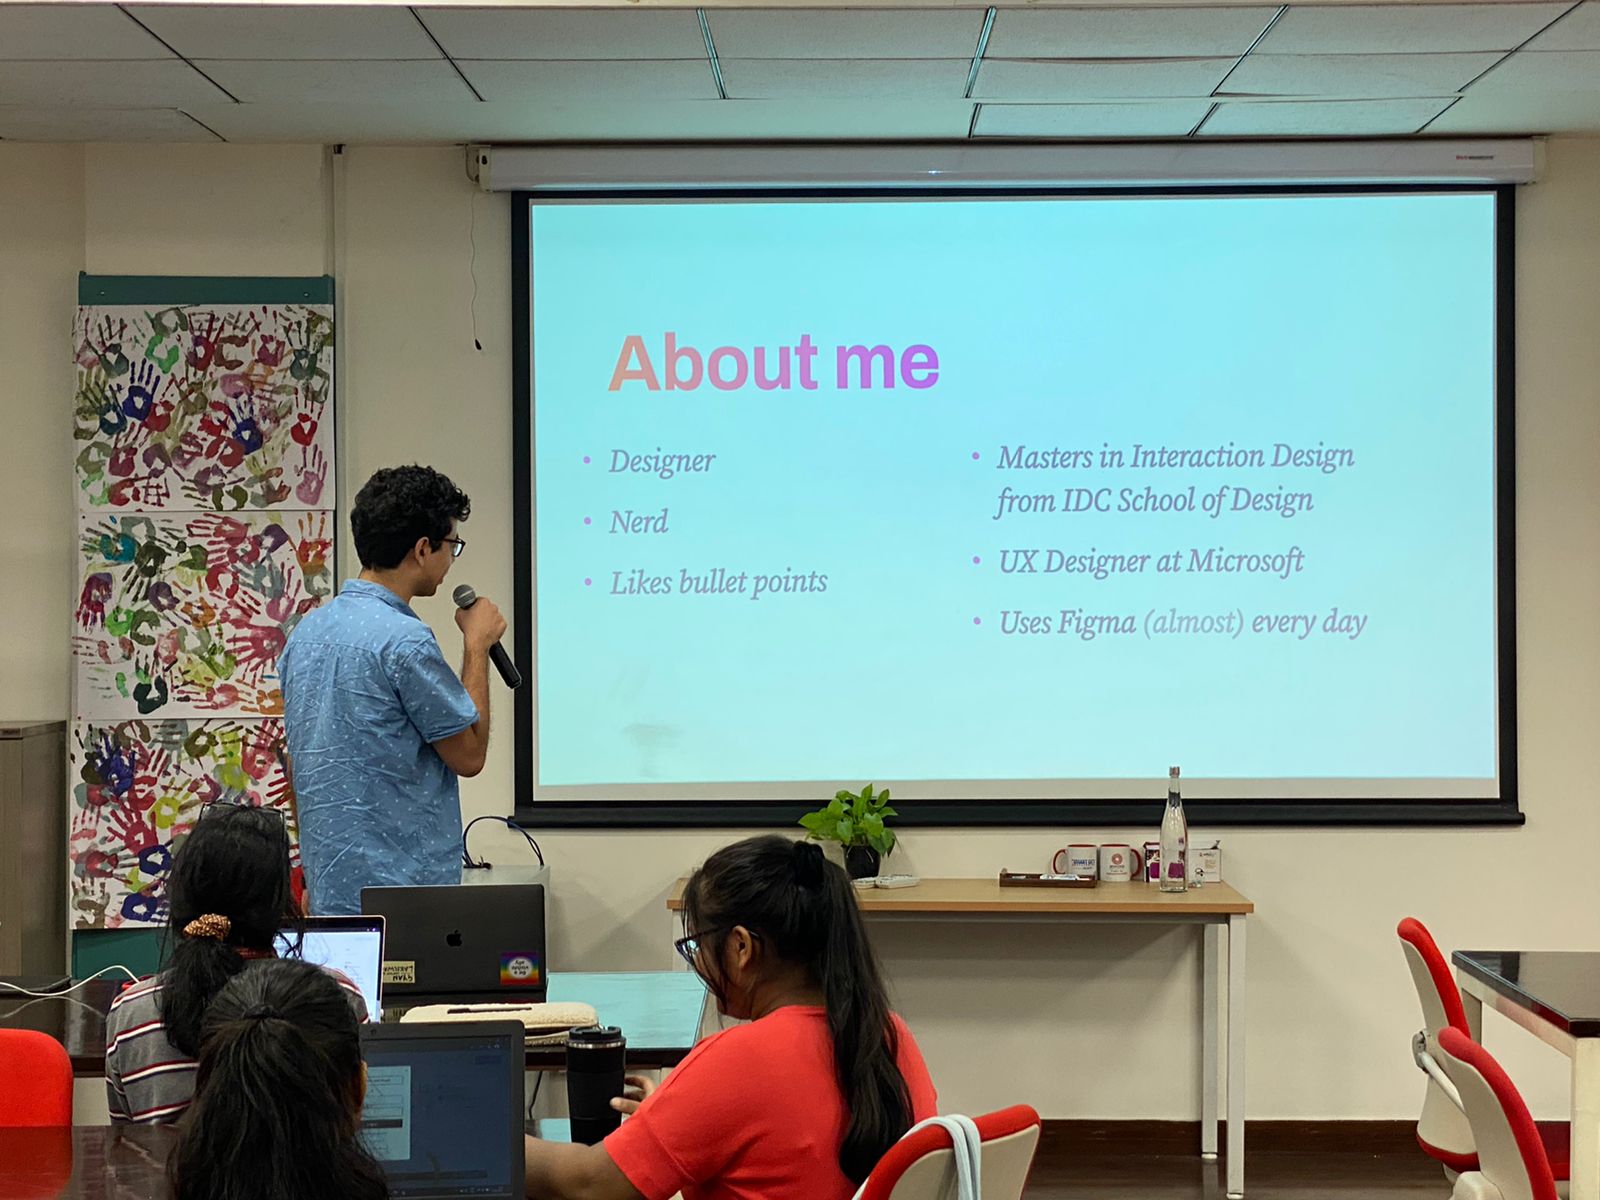
I can never resist some bullet point humor
Setup
- Sign up for Figma
- Either run it in the browser or optionally download Figma for Mac/Windows
- Download the Figma Mirror mobile app for Android/iOS (fair warning the Android app can be a bit buggy)
- Open this file: Rapid Prototyping in Figma - Workshop
The double diamond design process
- Research/exploring the problem space
- Picking a narrow problem statement
- Divergent ideation
- Converge on a single solution
It’s good to fail
You have an idea. It’s brilliant! It’s the best idea ever!
You find an underground bunker and work non-stop for 6 months. You don’t shower, which I don’t advise. You come out and show it to the world, but nobody wants it. Plus you smell funny.
- When testing solutions, it’s good to fail as early in the process as possible - make quick and dirty prototypes, learn from them, and then iterate.
- Building digital products out in code takes time and effort, creating lower fidelity prototypes is a faster way to validate ideas.
Levels of prototyping fidelity
Pen and paper
Hard to beat. It’s pen and paper. It’s great to start here.
Wireframes
Outline versions of the interface. Great when you don’t want to get bogged down by visual design decisions like colors, fonts, spacing, etc.
UI Design/Mockups
Visually detailed “mockups” of the app. Can look visually indistinguishable from the working code.
High fidelity Prototyping
Allow a higher level of detail, can access things like device keyboard or location, has conditional logic.
Low code/No-code tools
GUI editor that spits out working code, you can write custom code as well.
Working code
Wow, you built an app!
Figma community
Other Figma users upload their files, you can create a copy and modify it to your needs.
- People upload these voluntarily so it’s perfectly fine to use them
- Some files will have a few demo screens and then a payment link to access the full version
Figma basics
Pages
- (Practically) Infinite 2D pages with “frames” on them
- Scroll in any direction
- Pinch to zoom
Frame
- A container for content, typically the mockup for a screen goes into a frame
- Figma has presets for the size that works best for some popular devices
- Keyboard shortcut F to select Frame tool, then draw the frame rectangle
- Click on the name of the frame to select, then click and drag to move frames around
- Frames crop content that goes outside their boundaries, but this can be changed using the “clip content” toggle
Groups
Groups are similiar to frames in Figma, except they always fit the content exactly while frames can be resized. Frames also have the ability to use autolayout or be turned into components.
Text
- Text will keep going on in a single line unless you set a width for the textbox.
Components
Sometimes when you click on a group or frame, it’ll have a purple outline. This means it’s a component, which is a feature in Figma that’s only useful once you know the basics. For now, if you are struggling to edit a component, right click on it and select “detach instance”.
Autolayout
Autolayout maintains padding values automatically between elements. It must be enabled for each frame, but if the screens you are trying to use have it enabled it can be disabled.
Prototyping in Figma
Design / Prototype / Inspect
The right menu in Figma has 3 modes:
- Design lets you edit properties of objects
- Prototype lets you connect screens and decide transition animations
- Inspect lets you view design details in a dev-friendly format, and generates some code
Connecting screens
Go to prototype mode and then
- Click on the object you want as a starting point
- Drag the prototype handle to the screen you want to open
- Pick the event type (On click, while hovering, after delay, etc)
- Pick the animation type - smart animate will automatically add transitions between any objects on the starting and ending frame that share the same name.
Fun fact: The official term for the lines indicating the prototype linkages is ‘noodle’!
just don't make figma spaghetti at 2am and you'll be fine pic.twitter.com/olPhsyOuN1
— GYAN! (@gyanl) January 22, 2021
Exporting as image from Figma
- Export option in the bottom of the right menu
- Right click on frame name and select
Additional Resources
Fonts
Figma already has the Google fonts library built into it (some newer additions take a while to show up, but most are just automatically there.)
Visual design references
Stock Photos
Stock Illustrations
Icon packs
I’m linking to the websites, but these are also available as Figma files if you search for them in Figma community.